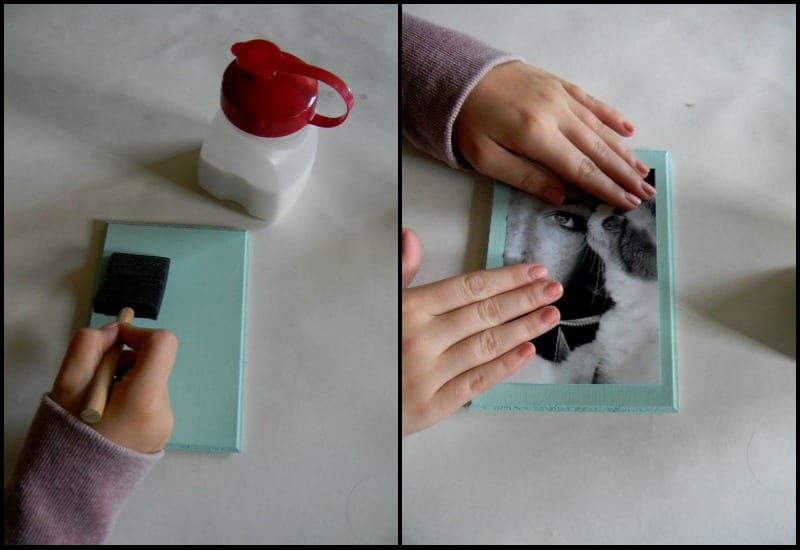
Cut your printed picture down to the desired size and use the Hod Podge to secure it to the piece of paper, keep in mind when you paint the Hod Podge on to the back of the paper the paper curls up so I recommend painting it onto the wood and then placing the picture down.
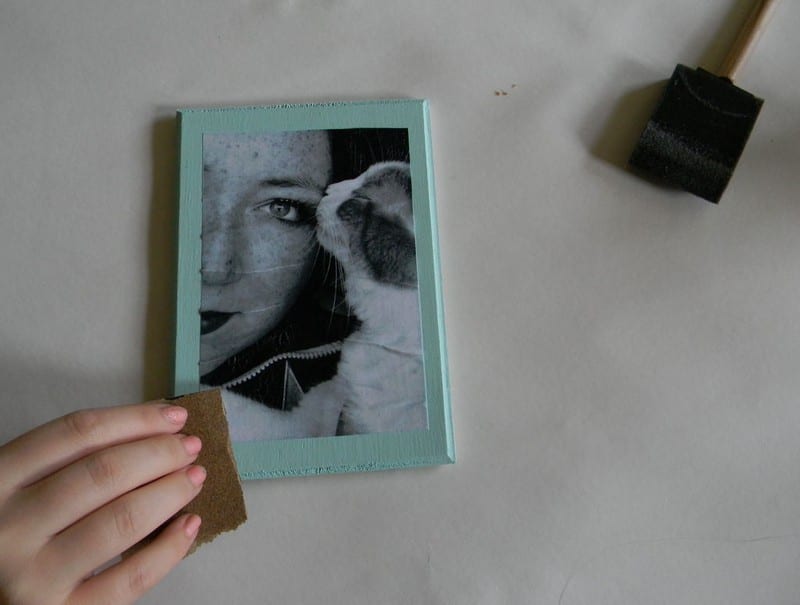
Take sand paper of your choice keeping in mind lower numbered sand paper is rougher and will distress the paper more and higher numbers have a finer grit. Use the sand paper to go around the edges of the picture and wood to give it a vintage look and blend it in to the wood until you are satisfied, in my opinion you can’t really mess this part up.
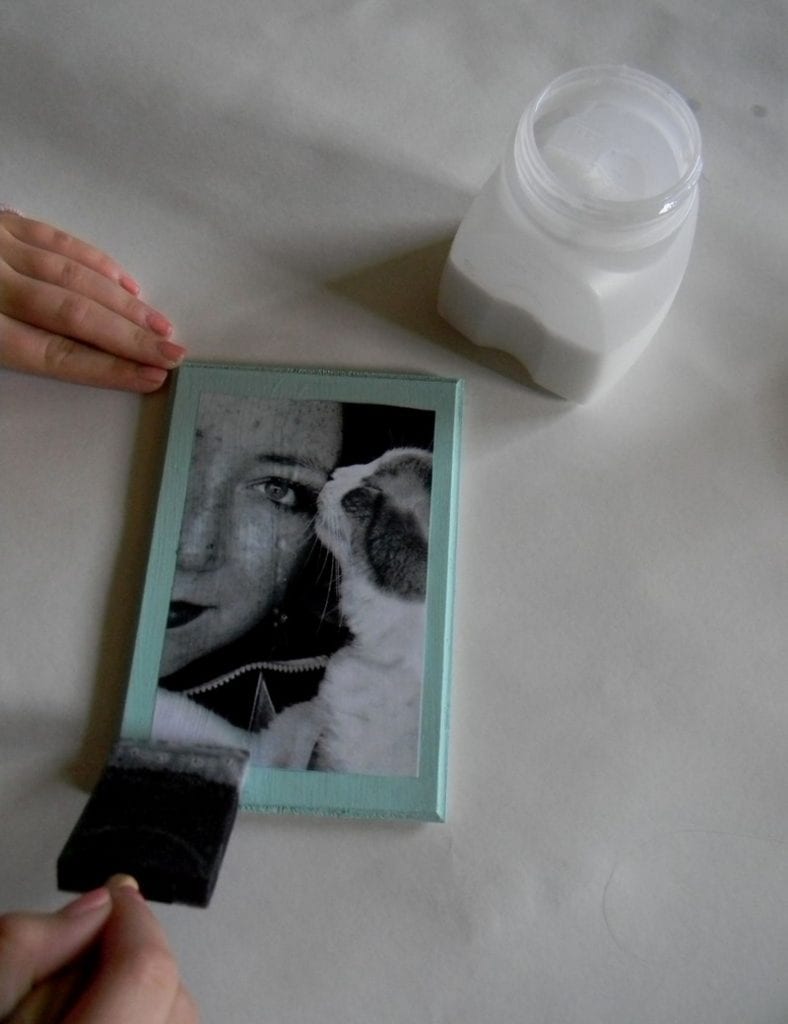
Then taking your Hod Podge, with the paint brush, apply it directly over the picture and the front of the wooden piece.
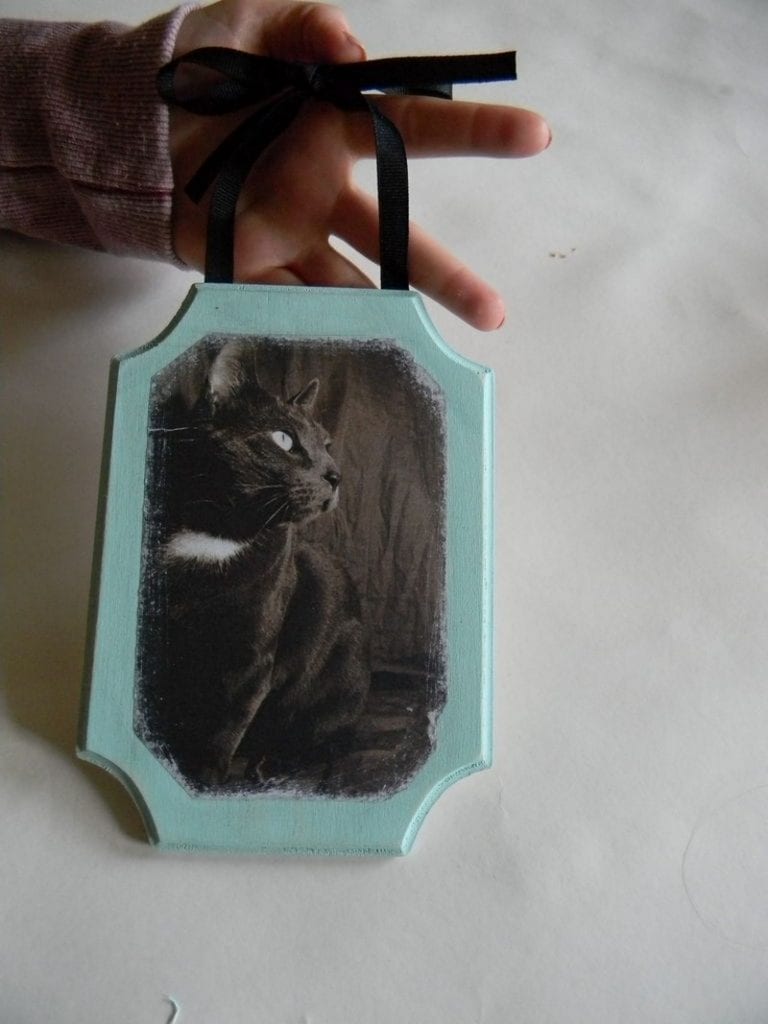
Finally, super glue two pieces of ribbon on the back and tie them up in a cute bow to hang on any wall! Keep in mind that silkier ribbon will result in a droopier bow and thicker ribbon will keep its form better.
Thanks to