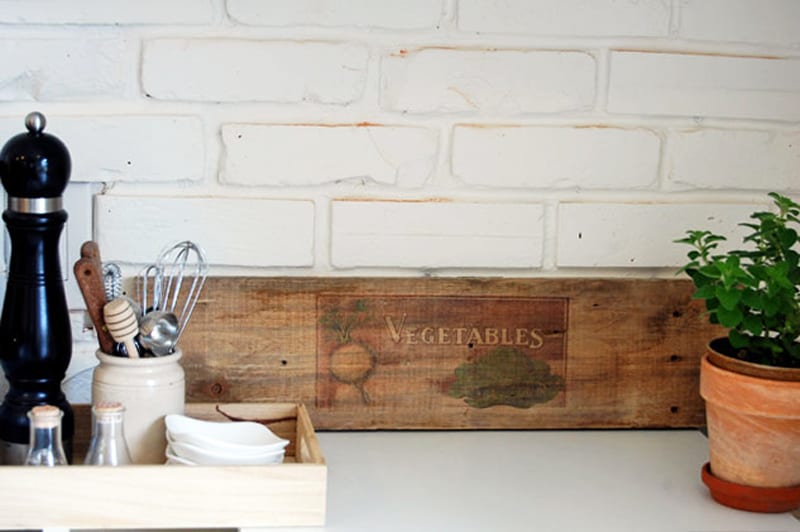
Ever had that great arts and crafts idea you never were able to do because it requires resources you don’t have? It’s time-consuming, expensive, and/or too complicated to do. I have always wanted to print my digital masterpieces on various things like on the wall, on a bag, smooth stones, and wood.
That’s why I am so glad I discovered, through the source mentioned below, that we don’t need expensive and special materials and equipment to print on wood!

Materials:
- Unfinished wood surface (smooth, the lighter the better)
- Wax paper
- Scissors
- Inkjet Printer
- Card (for transferring the image, ATM card)
Steps:

Cut the wax paper into a bond paper size and have it ready on your inkjet printer.

On your computer, reverse the image you will be using before printing – especially if it contains some text!
Check the wax paper and guide it while it’s printing. Make sure it doesn’t roll and touch itself or else the ink will smudge, and your image is ruined.

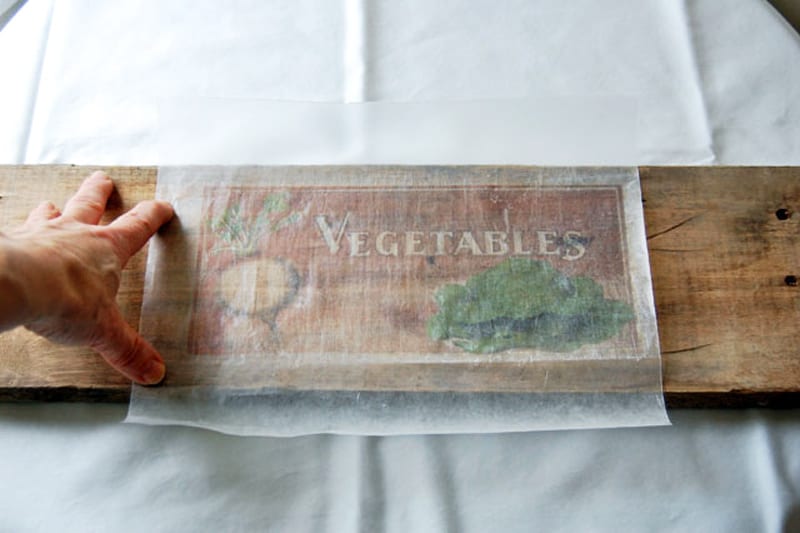
Now you will have to be more careful at this stage: you have to place the wax paper exactly where you want the image to be. There are no second takes!
Because once the paper touches the wood you must not move it or the ink will smudge.

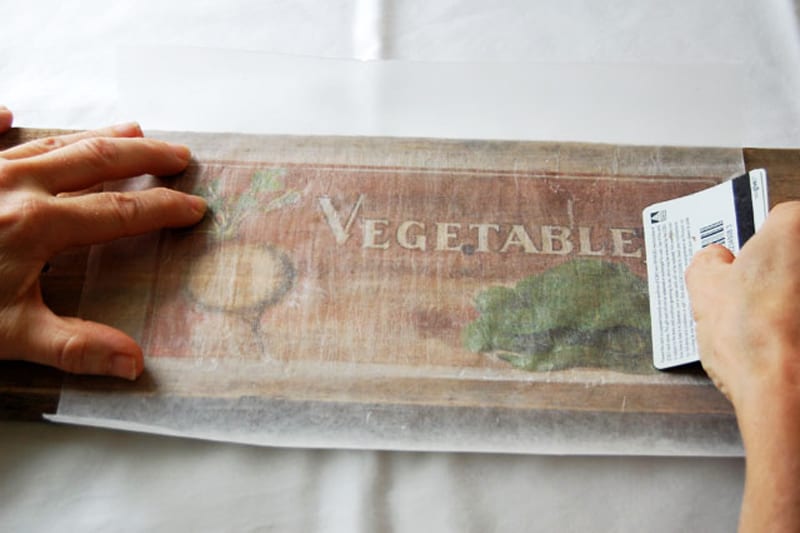
Holding the paper properly in its place, stroke the image with your card. You have to do this quickly and pressing hard enough for the image to be transferred nicely. But make sure you don’t destroy the paper.
You can carefully lift the corner of the image to check if it is transferring nicely.
You might miss some spots so make sure you go through the entire image with your card.

If you think and believe you have transferred the whole image, carefully lift up the paper and appreciate your DIY project!
Coat the wood with a clear matte spray.
Source: The Art of Doing Stuff
4 Responses